
The Duck That Stuck 1
By Nick AltizerConstruction and Modifications
This is a brief (maybe not so brief) photo essay highlighting the construction of The Duck That Stuck. Much of it is rote, routine and obvious. There may be a few nuggets of good info and original thinking, though, as well as one or two boulders of horrible ideas (actually, I left them out).
Much of what is said in here goes to fiberglassing.
Everything except the mast and spar are glassed on this boat. I chose this
path in part because it needs to sit outside, but also to lend that much more
safety and security for when my 8 year old son, Jacob, decides it’s HIS boat
and he wants to go out solo (with me nearby in the trusty yak). Is it worth it
– all that glass? Well…yeah, of course…maybe…
I hope this helps hatch a new little duckling someday. And if you have any
questions, feel free to email me. I’m Duck 705!
Oh, and one little bit of advice. Read the instructions, such as they are. I
did…and I didn’t. I missed the part about using 1/4" ply for sides and used 3/8"
ply for all. Add glass and epoxy to that and the weight begins to approach
that of the Titanic (is that a bad comparison?).
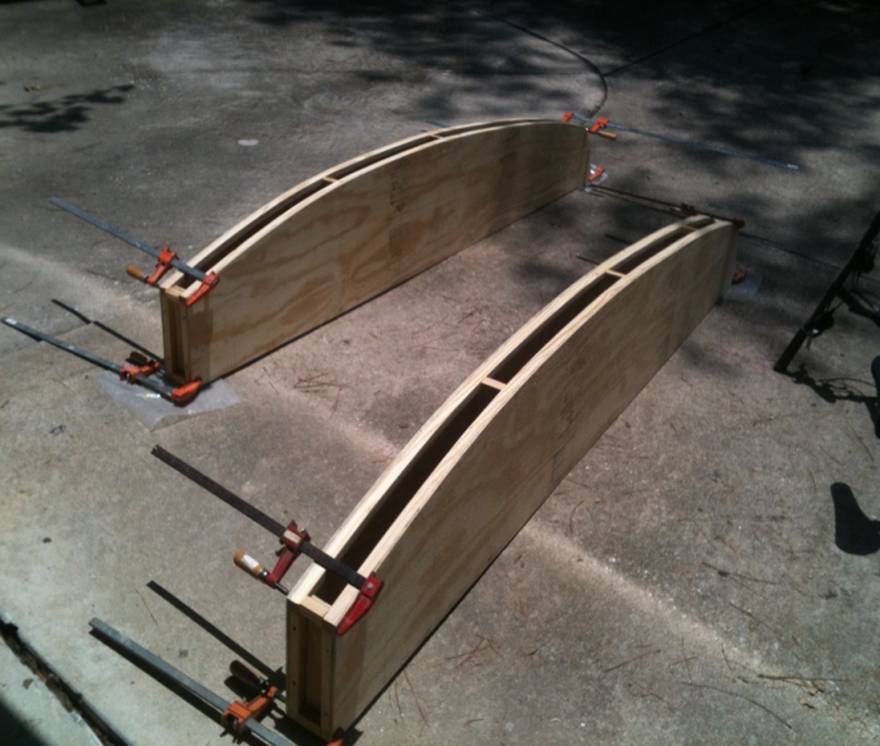
Side Boxes after glue-up. The spacers were glued, then screwed to ensure a good bond. The trick is to make sure the boxes are not warped a bit when clamped as there was no practical way to jig them. It took a little time with a straight-edge and fiddling with the clamps before things were good. Still, one side was bowed by about 1/8”.
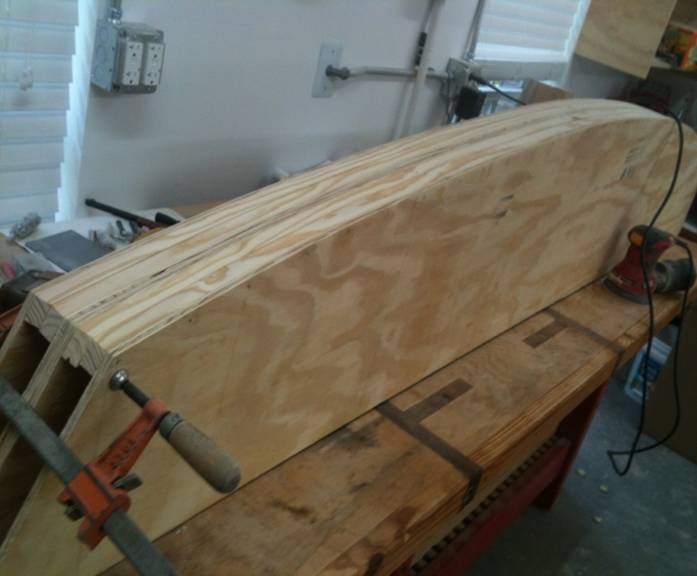
Sanding with both boxes clamped together ensured the hull form was uniform. This did not guarantee that the form adheres perfectly with that set forth by Shorty, but we don’t discuss such things….
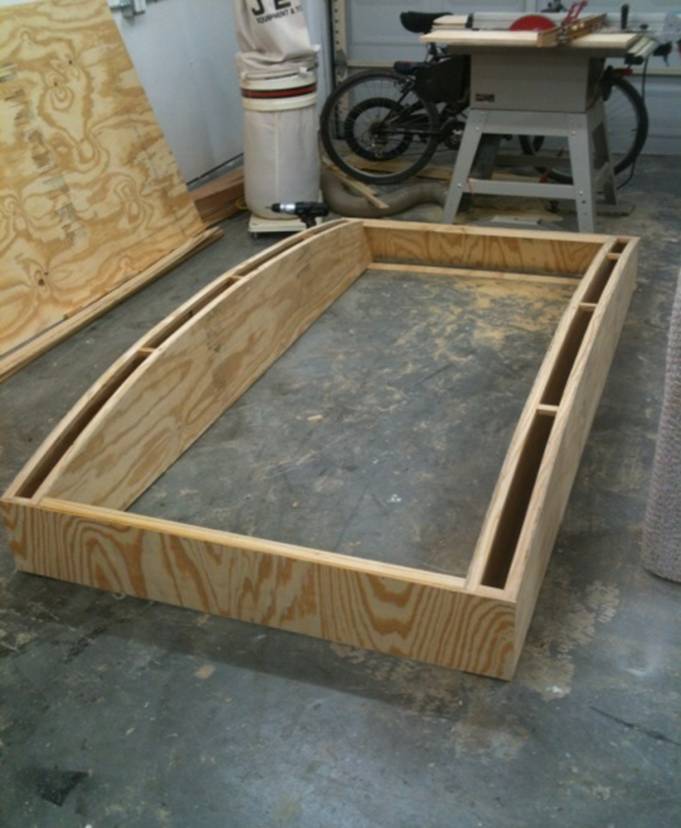
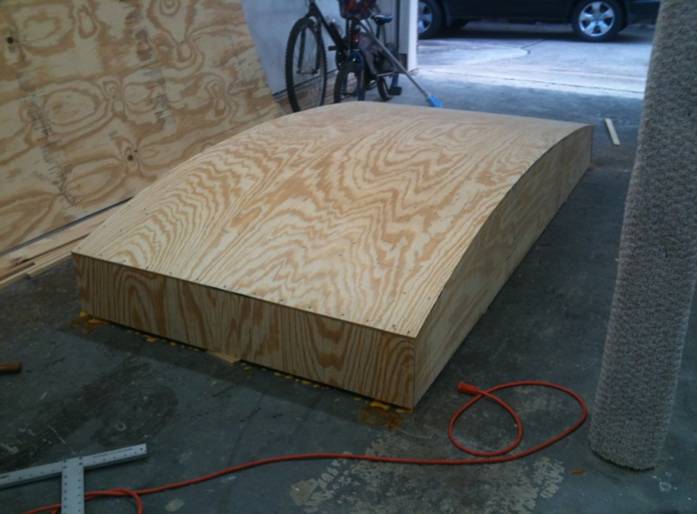
Hull trial fit with the transoms in place. Or, put another way, a practical lesson in how uneven garage floors really are!
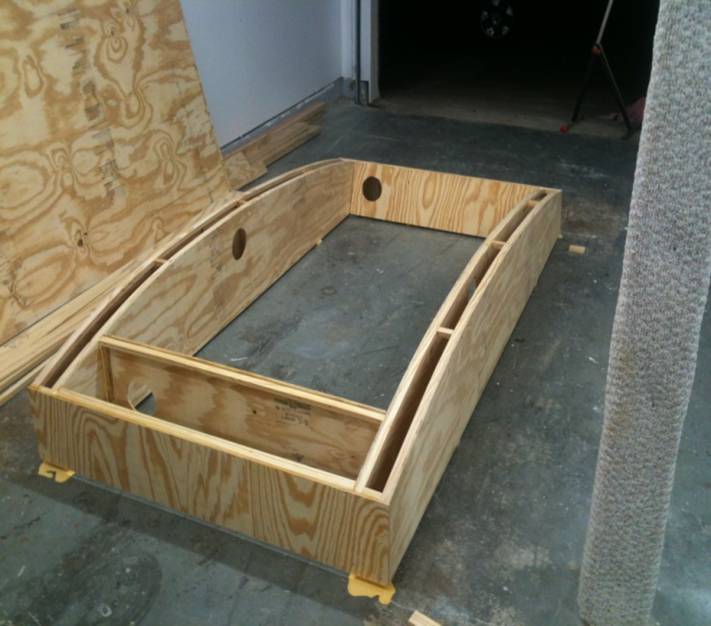
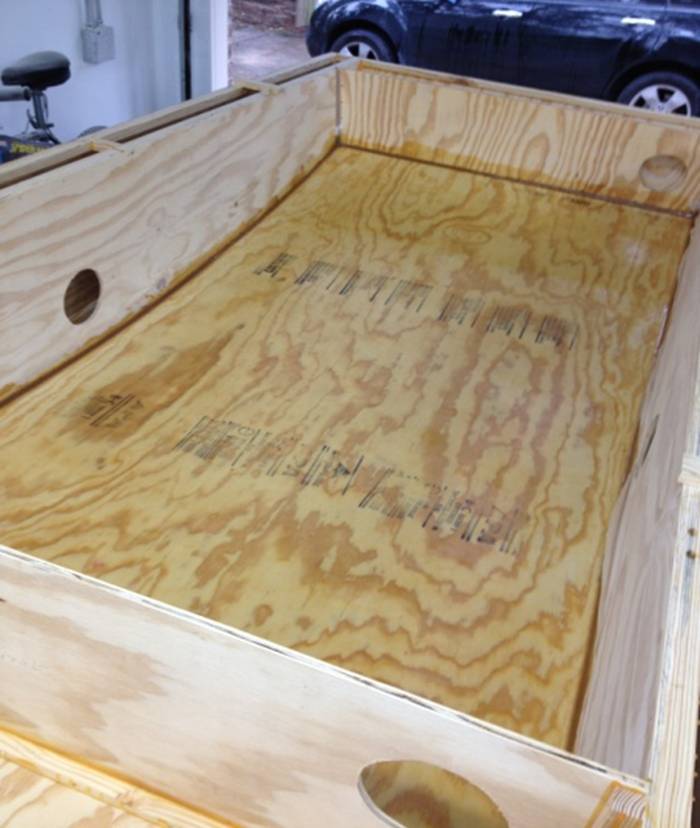
After marking where I wanted the deck plates and developing a system to negate the uneven floor, the plate holes were cut out and all transoms and formers were glued into place at one time. This was a bit much but necessary to guarantee the hull would come out square. Tightbond is incredibly tough stuff and remains on the floor one year later!
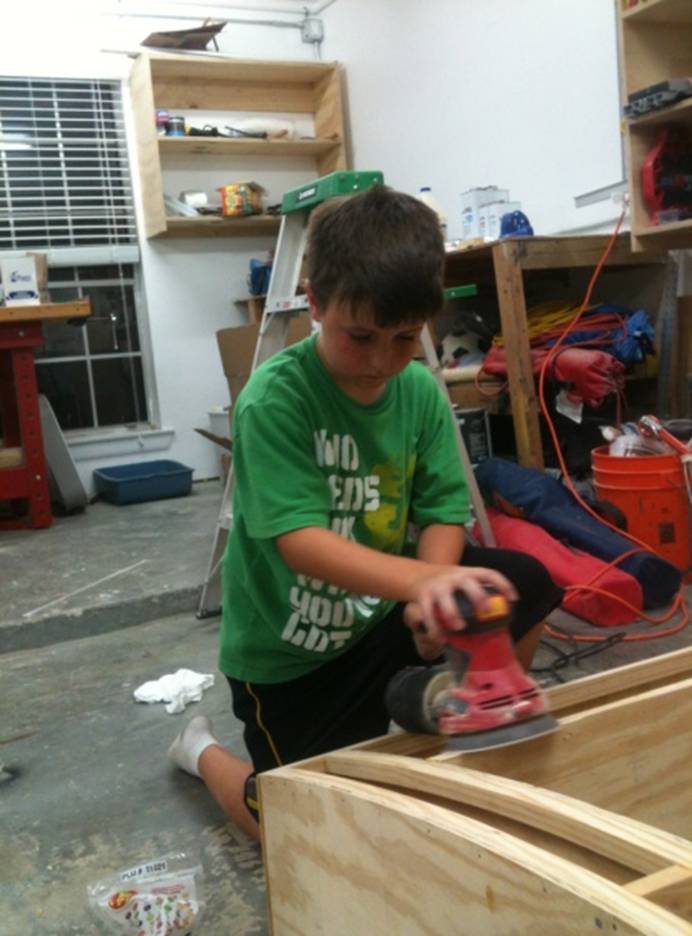
The transoms and formers were intentionally cut a bit oversize, so I enlisted my then 7 year old son, Jacob, to sand them down flush. He works cheap, requiring only Jelly Bellies and a Sprite or two!
It seems there are as many ways to glue up the bottom as there are Puddle Ducks! My method was to have Jacob standing by with the glue and squirt when told, then use about 7 million screws. Actually, we pre-drilled each screw 6” apart except near the transoms where they were closer. Prep paid off as we had the bottom glued and screwed in less than 30 minutes.
Once the glue was dried, Jacob removed every screw in the hull except those holding the spacers in the side boxes - they were removed after the deck went on. I think this took longer than the actual gluing! Each hole was then filled with a mix of epoxy and fine sawdust powder collected from the random orbit sander bag. I used no toothpicks as some do, the screw thread is plenty enough for contact and adhesion. Of course, each fill needed to be sanded down. I did this when the epoxy went B-stage to make it easier, though you go through sandpaper like nobody’s business.
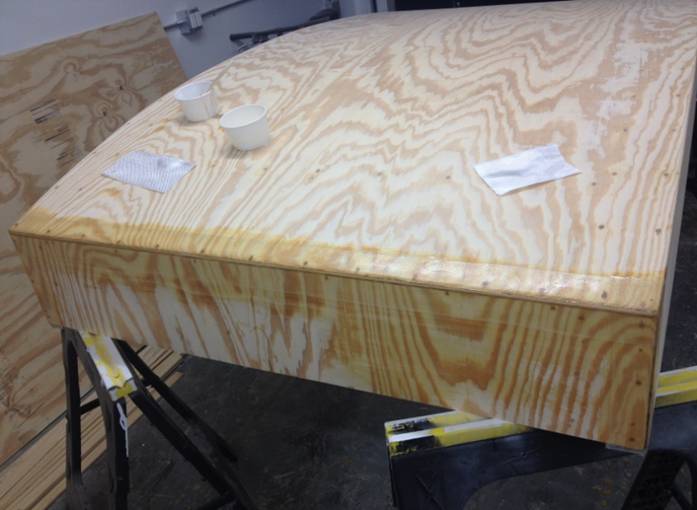
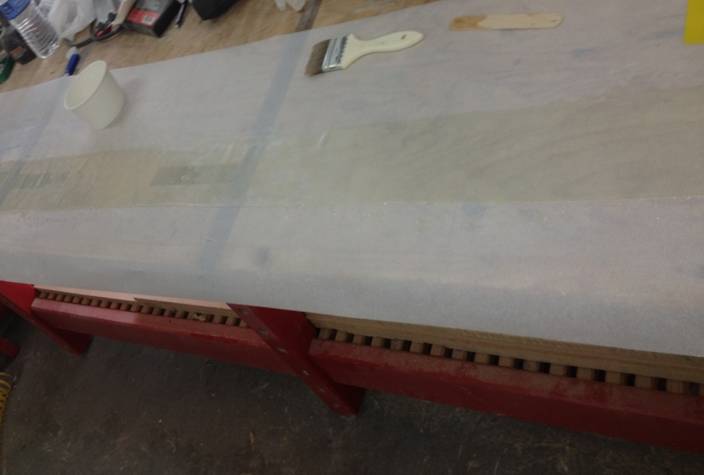
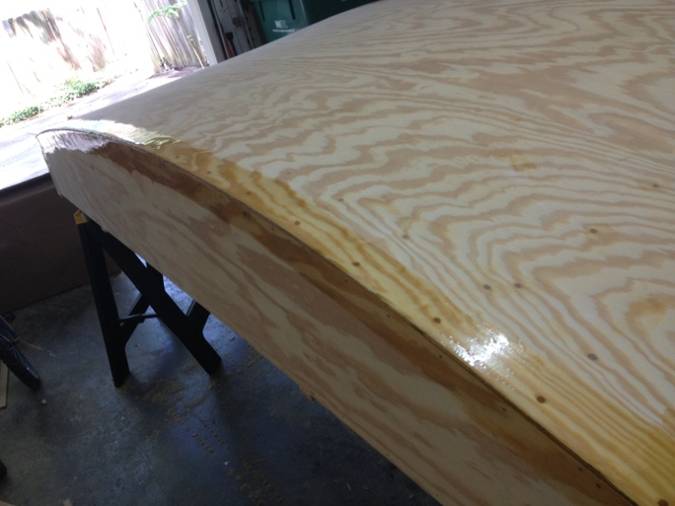
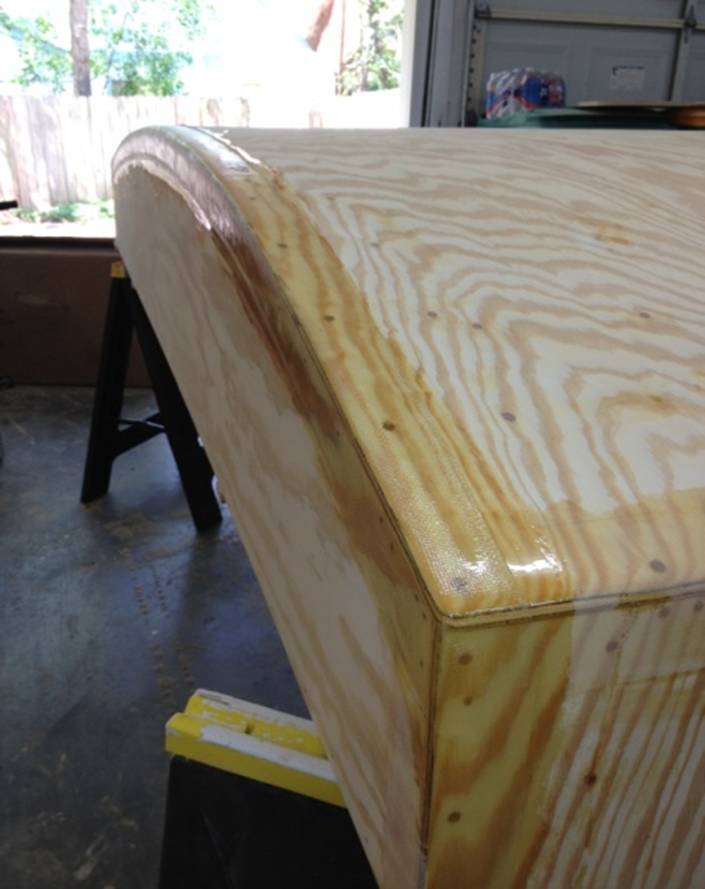
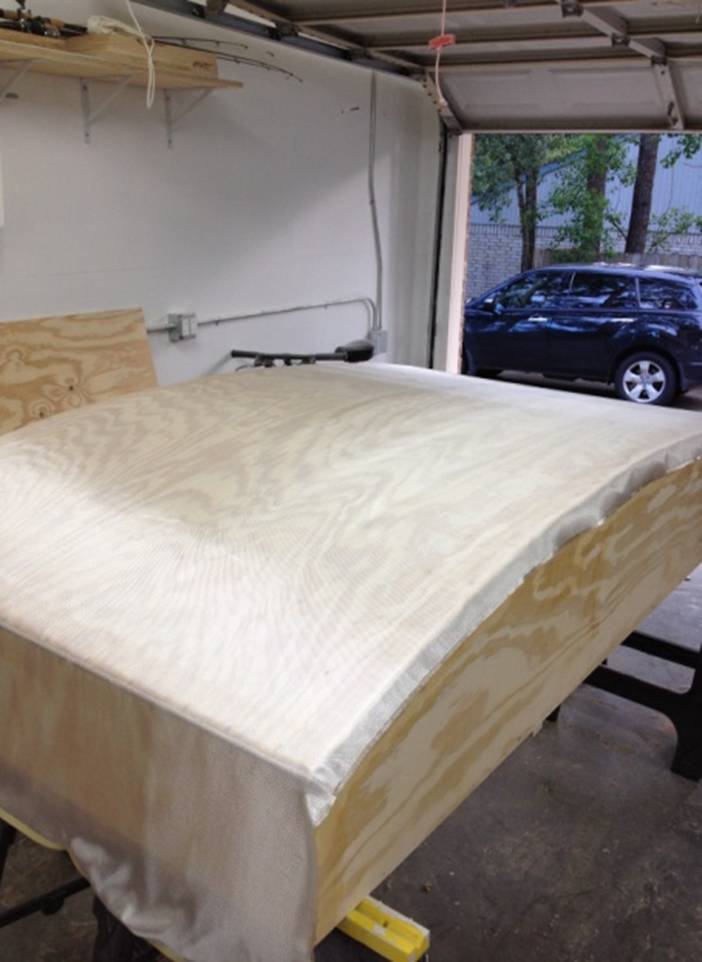
The picture above is the stern after taping with 6 oz glass. West Systems 105 and 205 was used for the entire boat. Great stuff, but expensive.
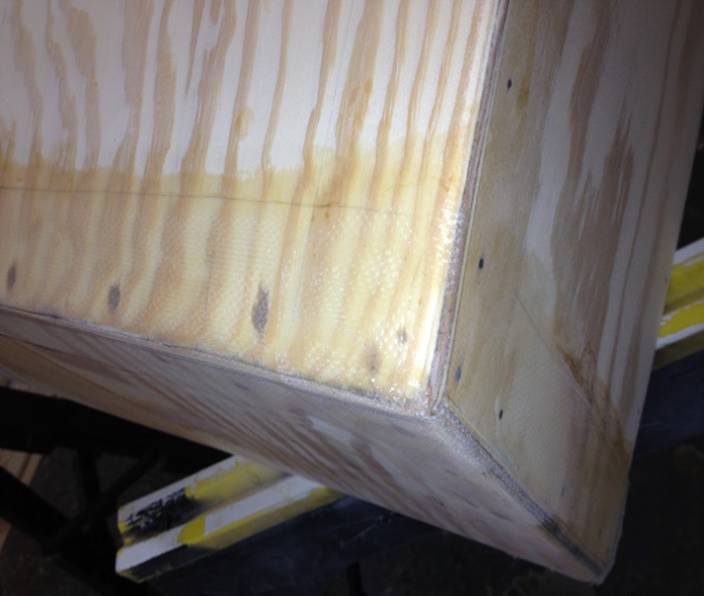
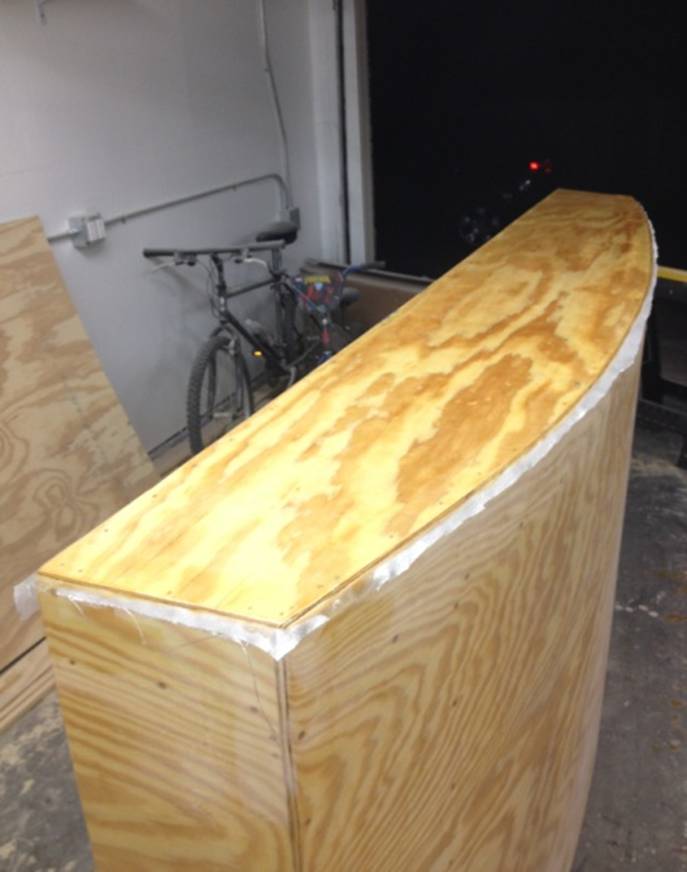
Corner detail after sanding and taping. I generally used the orbital sander with 100 grit – sometimes 80 grit – to smooth the tape surface and feather the tape into the wood. It is important to feather if you plan to glass the boat in order to avoid air pockets and to get a smooth, glassy surface. The time it takes to do this is nothing short of ridiculous!
Many people have asked me how the tape was laid so straight. There is a stupid-simple way to do this and it’s very cheap as well. Lay down parchment paper and lay the tape on top. Spread the goop (epoxy by a different name) with a chip brush and squeegee they are called. Don’t make it too dry. With 6 oz tape it takes about 5 oz of epoxy to wet out enough to do one edge bow to stern. You’re not ready to put the tape on the boat, yet…
No mix 3 more oz of epoxy and brush it onto the edge with a 3” chip brush. It doesn’t have to be perfect. My tape was 6” wide, so 3” on the side and the same on the hull bottom is all it took. Do this quick, your tape will start setting up soon if it’s hot out.
Carefully pick up the tape and peel it off the parchment – don’t worry if it sticks together, you can even do this by yourself. Start at either end, leaving a couple of inches of overhang, and work your way to the other, trying to keep the line uniform. Because of the curvature of the hull, you will get a few pinches along the side of the hull. Just ignore them until the tape is laid on, then go back and cut slits and overlap them. I generally took a chip brush and dabbed the entire length to ensure good contact with the hull. It’s worth doing.
Also be sure to cut and dab down the overhang. The corners get banged up, so make them strong! Remember that tape has a “dirty” seam on one side. I tried to put the seam on the bottom of the boat so that it was easier to sand it down.
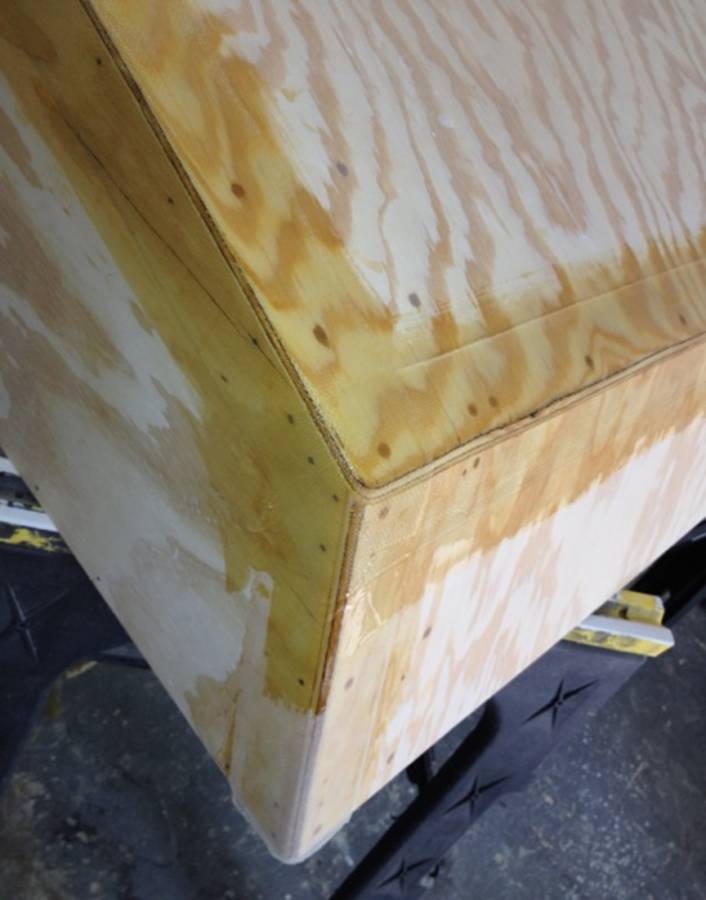
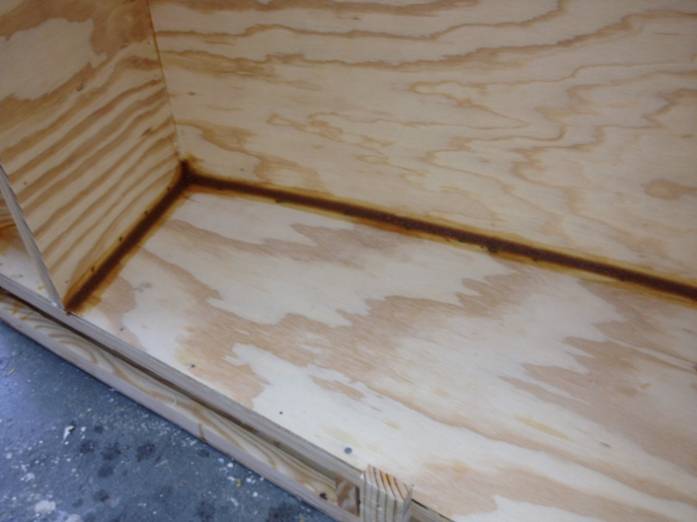
Corner details with all tape applied. It’s worth mentioning twice how important it is to sand between tapes. In order for the tapes to lay nicely and create a strong corner, the tapes must go down smoothly. Each corner will have 3 layers of 6 oz tape and either 2 or 3 layers of 4 oz cloth. That’s a lot of glass!
Oh, do I need to say it? When sanding? Wear a good dust mask or, better yet, a respirator. I hated it too. You’re supposed to wear a respirator when working with wet epoxy too, but I just set up a bunch of fans to keep the air moving through the garage. Don’t consider that advice, cuz it’s not smart. Garage access to Jacob was verboten when I was wetting up and sanding. Too bad, I could’ve used his help! Sorry, no more preaching.
The bottom cloth was cut long enough and positioned to also include the bow and stern transom. This was a bad idea and I don’t recommend it. It’s just too much to do at one time. Start with the bottom, the do the transoms separately. Messy, messy business.

You can’t really pre-epoxy the surfaces like you could the tape. Just plan on using a LOT of epoxy and work fast with the squeegee. 4 oz glass is designed to wet through easily (as opposed to 6 oz tape) and it’s easy to tell when both wood and epoxy are adequately saturated. Don’t go dry. You can sand off too much epoxy but it’s difficult to fix an area that didn’t stick well (sand out the area and apply new cloth, let dry, feather…way not worth the effort). You will be so glad you feathered the tapes right about now! Try to cut excess tape once the epoxy goes B. It makes trimming a lot easier.
Glassing the sides is really pretty quick and easy. Same processes apply, but a lot less sweat is required.
It is important that every surface is well sanded once the epoxy cures. First, you will smooth it down to a nice, almost glassy, finish. More important, paint doesn’t stick well to “green” epoxy. It has some kind of waxy sheen to it. Sanding removes that. Plan to spend a LOT of quality time with your sander. I went to 150 grit and 200 around the corners to keep from cutting down to the wood.
Fillets are crazy simple. Epoxy mixed with a lot of that same sawdust you collected earlier – the consistency of peanut butter (the creamy kind) works pretty well. Apply it with tongue depressors. It may be a bit “gravely” when cured, but I found that in most places the same orbital sander will work well to smooth this out. Fillets are hugely important if you plan to glass the inside of the boat as it gives you the radius you need for the glass cloth.
There is a sort of art to determining the exact cut for the inside glass. You really want to be careful as the overlap will play havoc with your efforts right as you are racing to beat B-stage! Take your time and trim and trim until you have no more than 1 ˝” overlap on all sides. Slit each corner with sharp scissors before you wet it down. Start wetting in the center and work outward. It will stretch a bit so if you start at the peripheral, you will have a bubble right where your butt will go! Make sure the cloth is wetted and smooth over the fillets and up the sides. Sand any “strings” once cured and before you cloth the sides.
The same steps apply to all 4 sides.
Sanding the insides is more difficult, hotter, more dusty. Actually, it’s pretty much the only part I hated about the build.
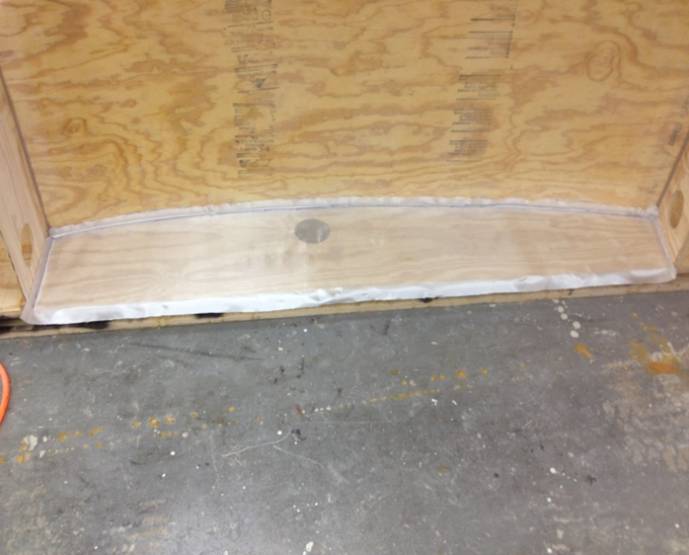
Example of the side ready for wetting. Don’t worry about the deck plate hole. Cut it out with an x-acto knife once the stuff goes B.
Continue to part 2