
The Duck That Stuck 2
By Nick Altizer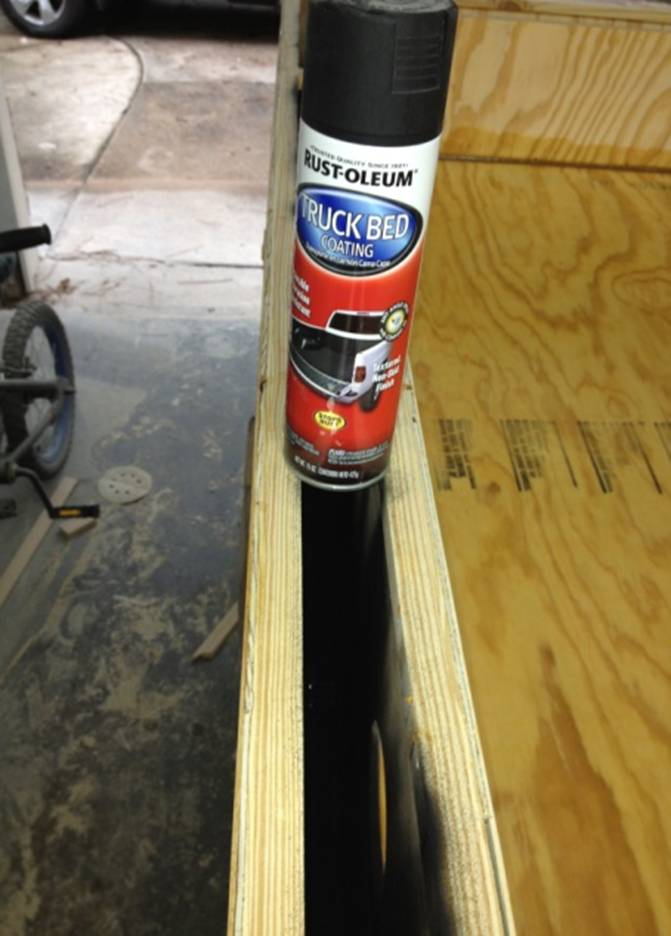
It was about at this time that I thought, “Well, if the boat leaks from the outside I’ll just dynamite the thing out of frustration. But are the deck plates really THAT waterproof?” Turns out they are, but I sprayed the boxes with truck bed liner just to be safe. It was, in retrospect, totally unnecessary.
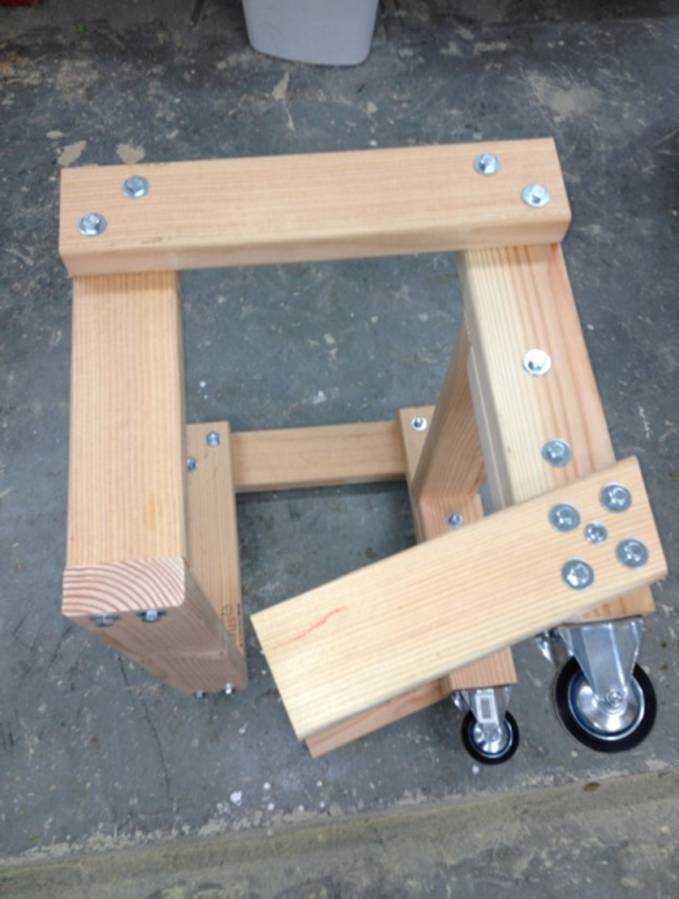
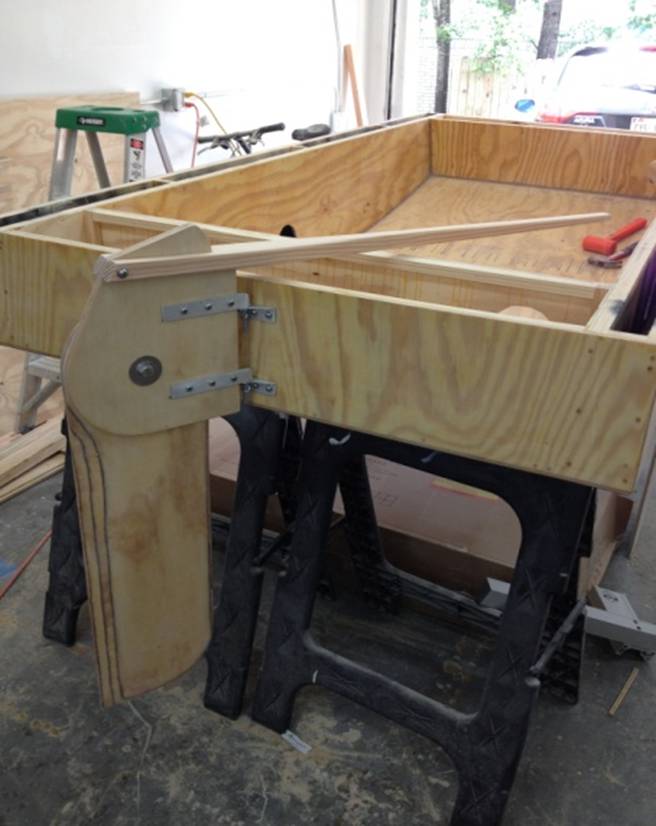
Pat Guillory was kind enough to post a video of the dolly in action , but here is a close-up of construction. It’s way overbuilt, but I had the stock on-hand so…
This only works on a boat with a transom box. The assembly pivots over and closes down on the box and hull bottom, then locks in places so you can maneuver the boat from the bow. I have since extended the “legs” and added 10” pneumatic tires for ease of use and using on sandy beaches.
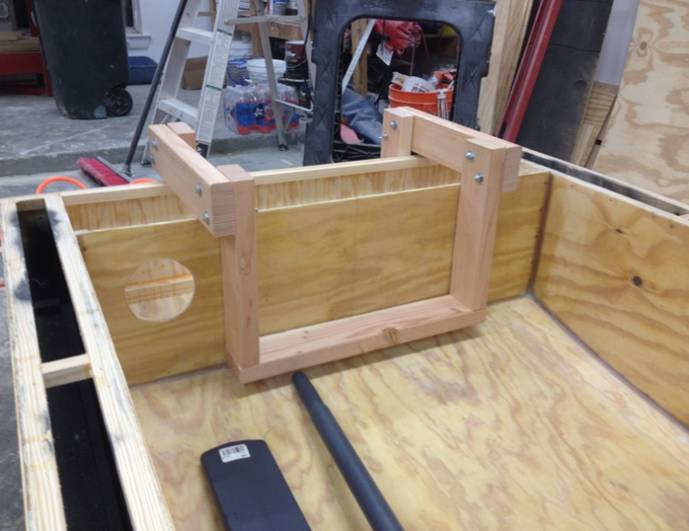
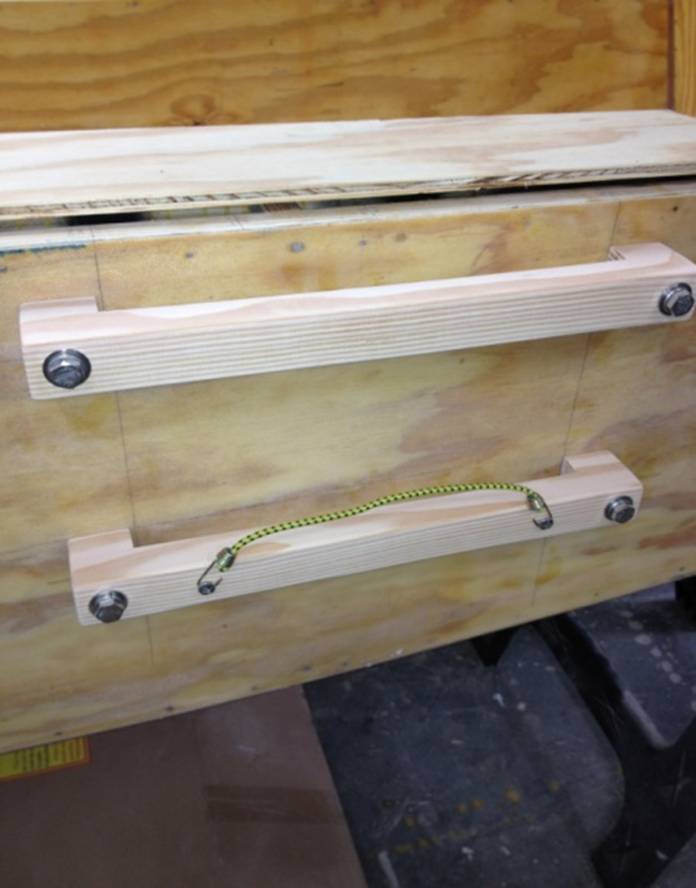
Here is a view forward looking aft. If you look carefully, one of the bolts on the back leg is secured by a wing nut. Unscrew the nut, and pop out the bolt on both legs and the forward assy pivots on the other bolts..
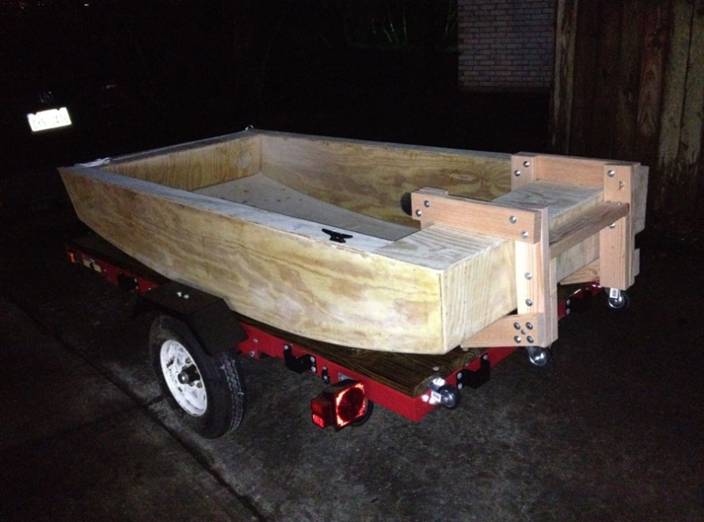
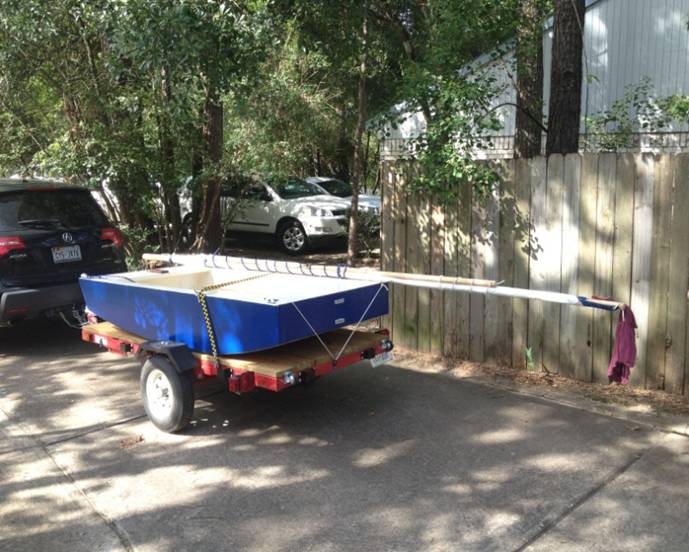
A view from the rear quarter. Note the wheels on the back end of the trailer. These extend beyond the 2x4 brackets and allow the boat to be pulled up onto the trailer by a bow line. The arrangement uses physics to overcome gravity and pulling the boat onto the trailer is very easy to do.
The decking was temporary. The boat was floated the next morning. Totally water tight, however the skies opened up on the way home and the deck plates had not yet been made water-tight. I immediately removed the decks and spent the next day with fans over each air box watching the water slowly evaporate.

The stringers were cut out of a 2x4, shaped and epoxied to the hull using screws while they cured. I was careful to use screws that would not penetrate the inside of the bottom. The screws were removed and the stringers filleted and glassed with 6 oz tape. This was a difficult step in the boat build, but I think mainly because I was ready to move on to other things.
I elected to use a fixed position lee board, mainly because of the complications of installing a pivoting one. But this meant I had to nail the position the first time! I paid really close attention to all the literature on Shorty’s site on lee board positioning, and went all over the net as well (which only confirmed what Shorty has to say). I also worked with Polysail to get the EXACT center of effort of the sail before fixing the lee board position. Personally, I think all this work was a big deal. Doing this right pays off in speed and maneuverability.
Either that or I just got really lucky….
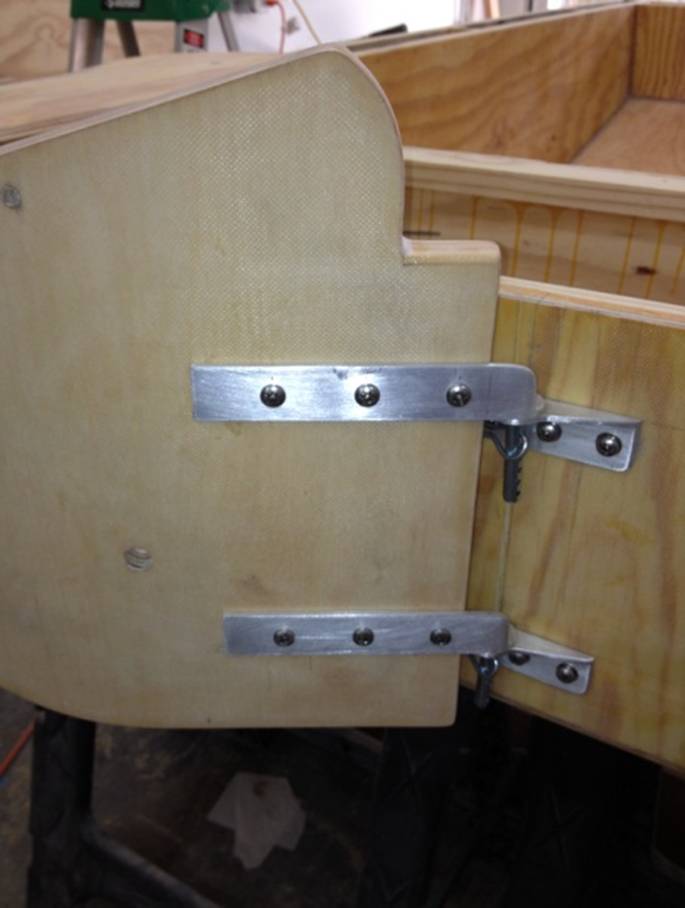
Fellow Duckers seem to want to know how I attached the rudder. So here it is. I’d read where a lot of homebuilt boats lose races and/or founder because the rudder fails. For the gudgeons, I decided to use 1” aluminum angle stock. The stuff is tough and easy to work. The gudgeons are attached to the various parts with a number of screws and integrated to spread the load over a large area. All rudder components (and the lee board) were built of birch ply and glassed. All hardware (except the gudgeons) is stainless. Tiller is out of a 2x4. Initially, I used pins as pintels, but the arrangement was not very good so I switched to a long SS bolt and lock-nut. Nylon washers separate metal to metal moving parts.
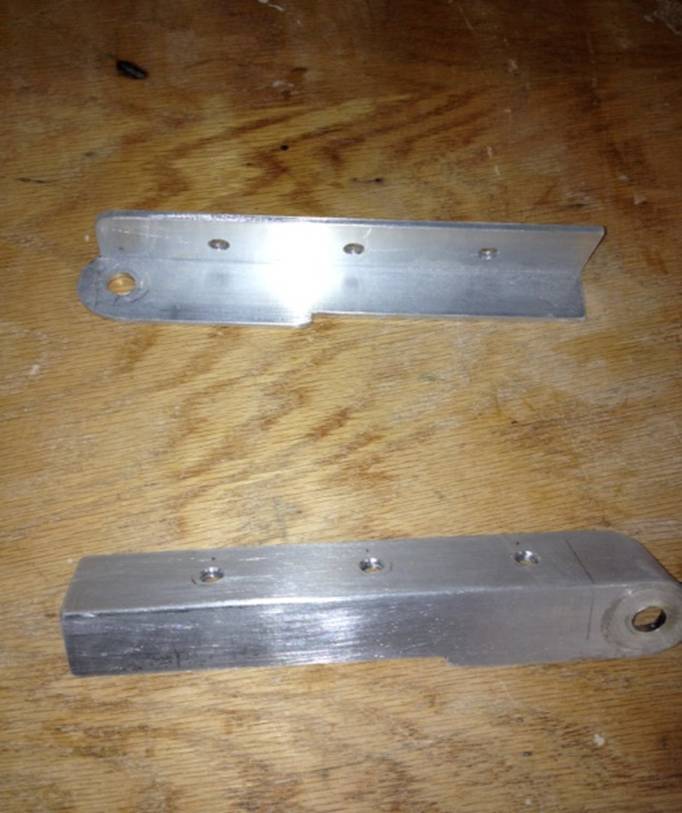
These are the rudder stay components. The angle was shaped and drilled, and I cut slots in the stay so that the gudgeons press-fit into the stay. Three SS screws secure the assy.
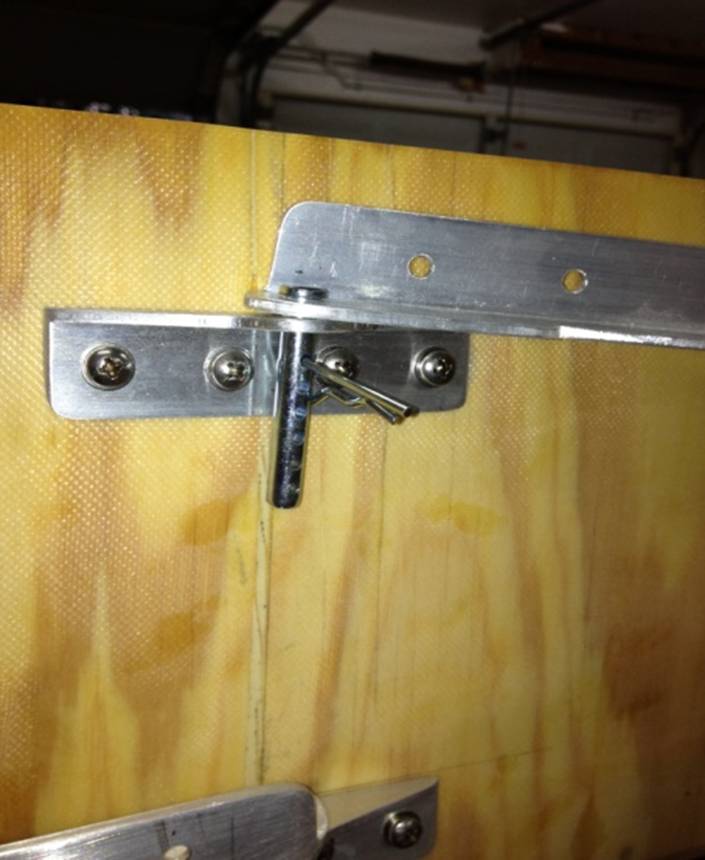
This picture shows how the gudgeons and hardware fit together. The pintel pins shown here worked OK. Opt for a long bolt instead.
A close-up of the whole thing. The transom has a doubler installed on the inside that extends top to bottom and about a foot to the left and right. This rudder should never let go.
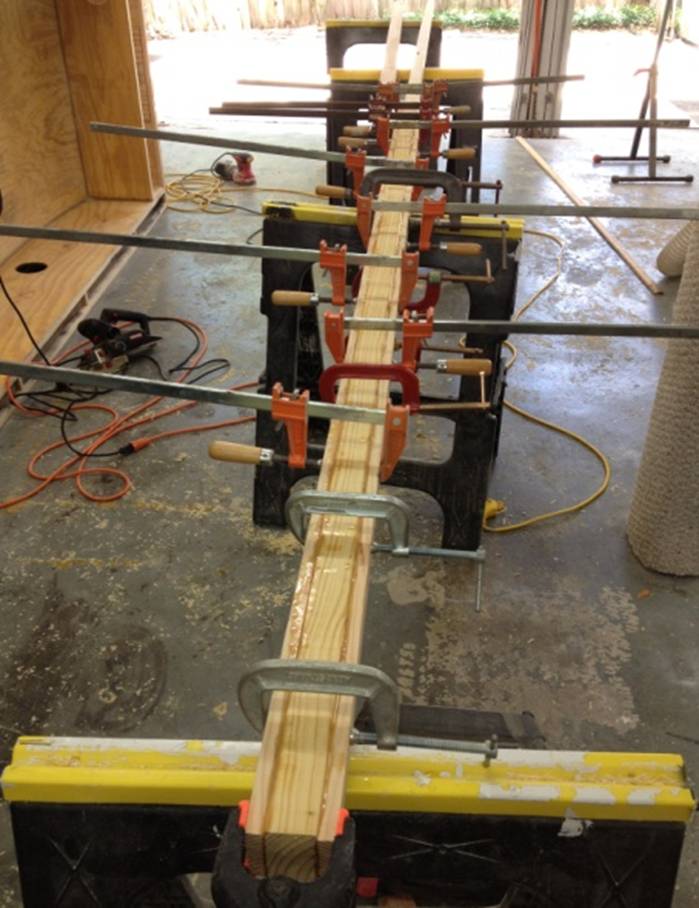
Shorty gives great advice on how to build a simple, rectangular mast. It’s difficult to find a good pine blank, but when you do the process is easy….unless you want a ROUND mast. The nice thing about a round mast on a leg-o-mutton set up is that you can furl and unfurl with the mast on the boat by simply twisting the mast. It will also “follow” the wind, giving you a better foil…supposedly. I used epoxy for the mast, screwed and glued. It is doubled and round up the first 8 feet, then the doublers are faired to the main stick and the rectangular form goes the rest of the way to the top. Kind of a hybrid. It works well and the upper third flexes under heavy winds, spilling it and making a mast failure difficult.
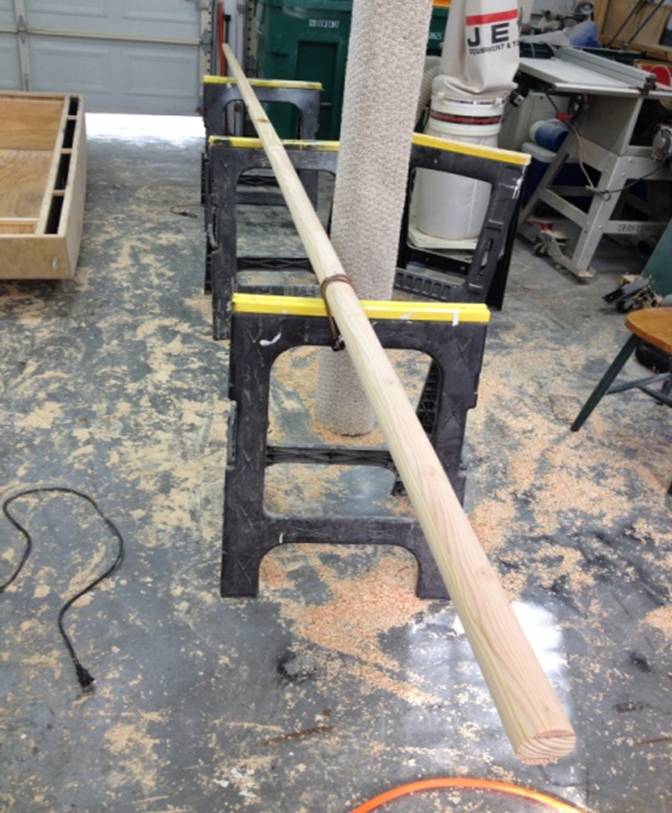
Making it round was really not that difficult. In fact, the entire mast was built in one 19 hour session, including glue and cure. I used an electric hand planer to bring the square to an octagon, then sanded and sanded and sanded. I used the mast stay (next pic) to know when the mast shape was done. It turned out to be surprisingly light. And to tell the truth, I never stained, glassed or painted it. Looks great as bare wood.
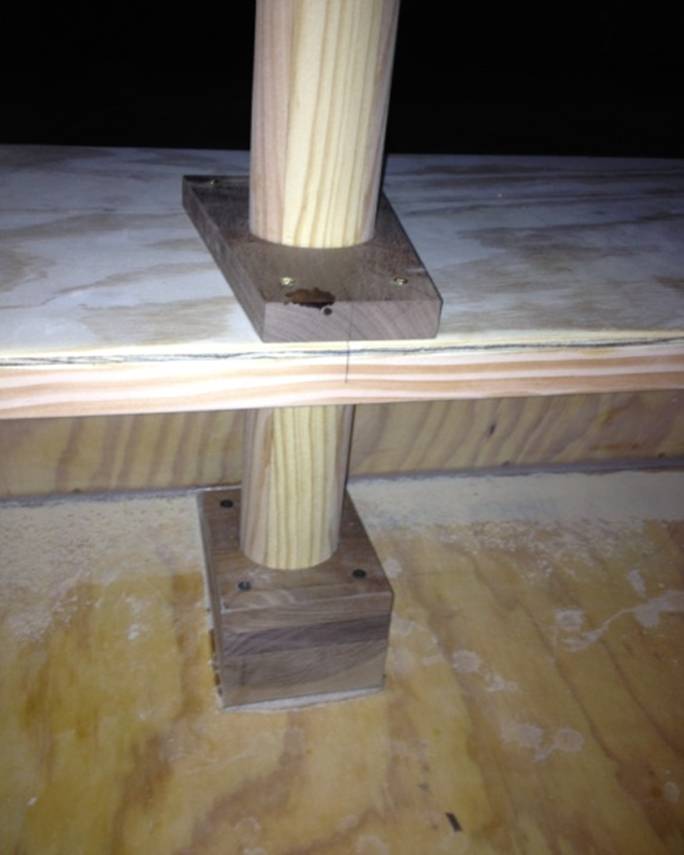
The mast stay and partner are American Walnut. I love the stuff. Just oil it once in a while and it’s happy. Adds a bit of bright-work, too. The stay is actually three parts. The bottom part is sanded to hull shape and epoxied to the bottom. The other two are identical 3/4” thick boards that are screwed down to the bottom piece. The mast partner is just shaped nicely and screwed to the deck. The deck has a square hole a bit larger than the mast.
A bit of hard packaging plastic (like that the deck plates come in) cut to size and fit into the stay makes the mast rotate rather nicely.

Painting the decks and cockpit. The rails along the sides are for a bench seat. There are holes drilled every 4” through the rails for a failed bench idea. But I found other uses for those holes! Notice the bow eyes on the bow transom. They come in handy more times than I would have ever dreamed!
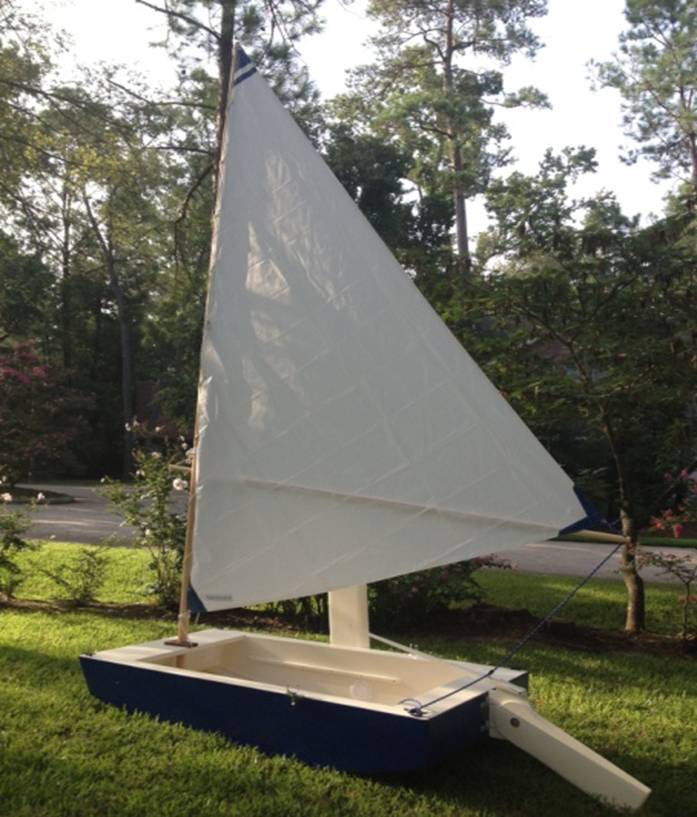
A new hatch! Here she is the morning of first sail. A truly amazing experience. The boom is hexagonally shaped as I wanted to cut down on weight and didn’t feel like making another square peg round. All rigging has been converted to true sailing line. The stuff is not cheap, but it’s only the most critical part of your boat besides the mast and sail!
Ready to go.
Read on for modifications. (part 3)