
Building Mini-Duck Part 2
By Guest Articles #30 (3ad 64ar)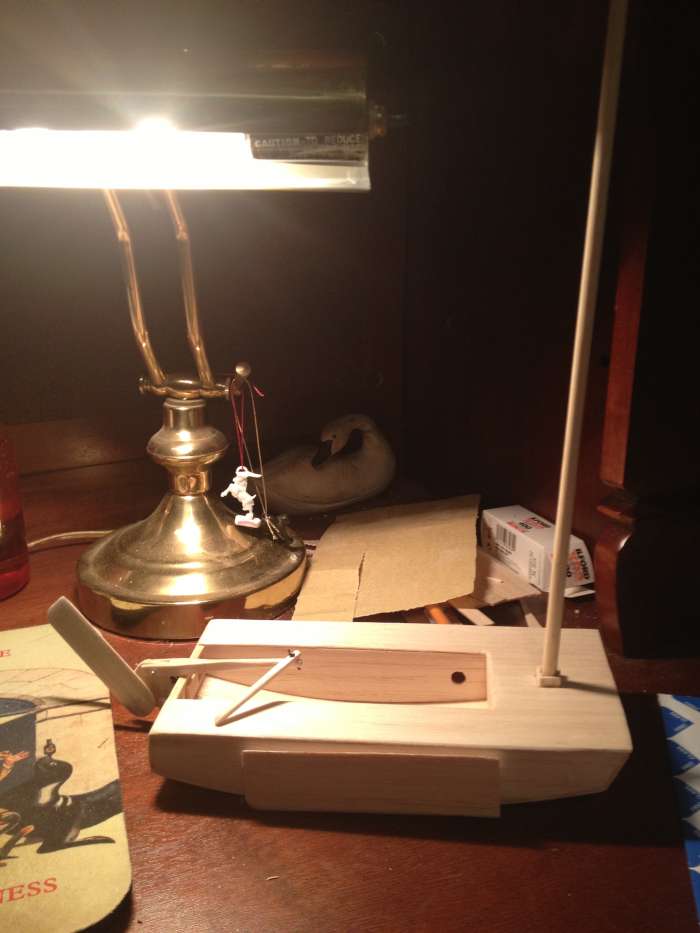
I've made a little progress since the last series of photographs I sent you. I've attached them to this email for you.
I started by gluing-down a deck. I should mention that to date, I've been using balsa wood and Elmer's glue, with the exception of the hull bottom, which was attached using a "super glue". The deck was just a matter of measuring carefully for the mast opening. It was kind of a bummer to see all the bracing covered-up, but at least I know it's there.
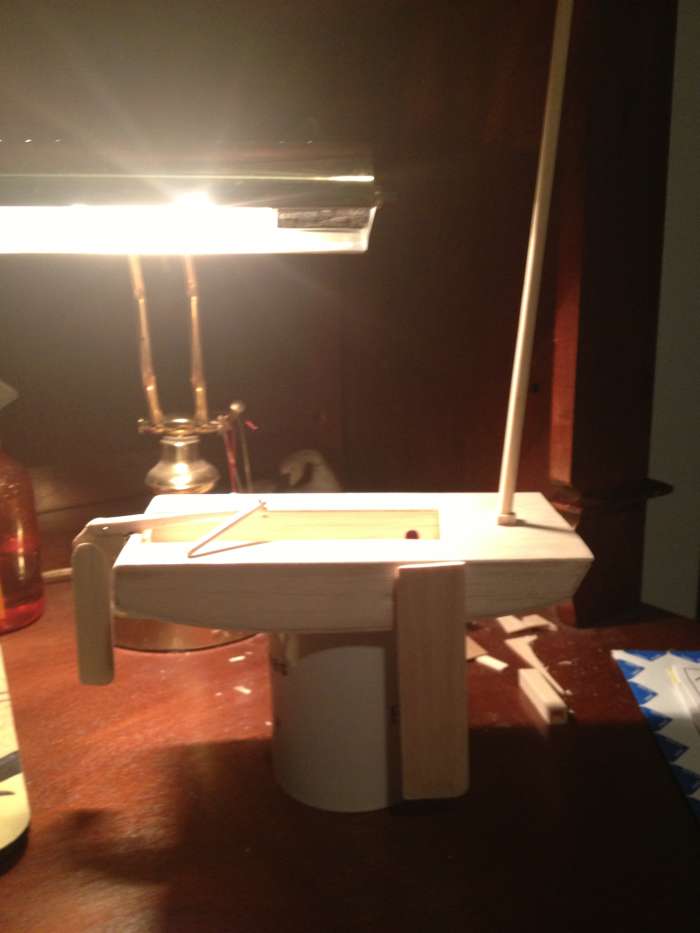
Next came the matter of a lee board. I glued two pieces of balsa together, again with Elmer's, to get the thickness I wanted. Then I sanded the resulting board down to get the 'teardrop shape' I was looking for. In order for it to swivel, I elected to use a 'snap button' that I found in my wife's sewing kit. I attached this to the hull and the lee board with 'super glue'. I found it's important to glue the pieces on separately, as if you try to have the two components of the button snapped together it gums-up the swivel action.

Next I started-in on the rudder assembly. The rudder blade was made just like the lee board. The rudder assembly was made out of two pieces glued together like the blades. I used a cut-down straight pin to connect the tiller to the rudder assembly. Once I pushed it through, I put a dab of 'super glue' on the end to keep it from coming back out again. The rudder is attached to the hull using wee bits of wire bent to form gudgeons and pintles. The tiller extension was connected with a small bit of upholstery thread. The rudder blade itself was attached just like the lee board, using a snap button, except this time I remembered not to connect the two button halves until they were dry.
All-in-all, it's coming along nicely. The next step will be to make the sail and boom. I'll keep you updated as I progress.
D. Trussell