Keel box and keel
By Lance BrandowI originally made this boat five years ago but did not plan well for the keel and the rudder. We have been having a lot of fun with it as a big square canoe. This summer I decided to router the tops of the bow and stern off to begin converting it into what it was always meant to be.
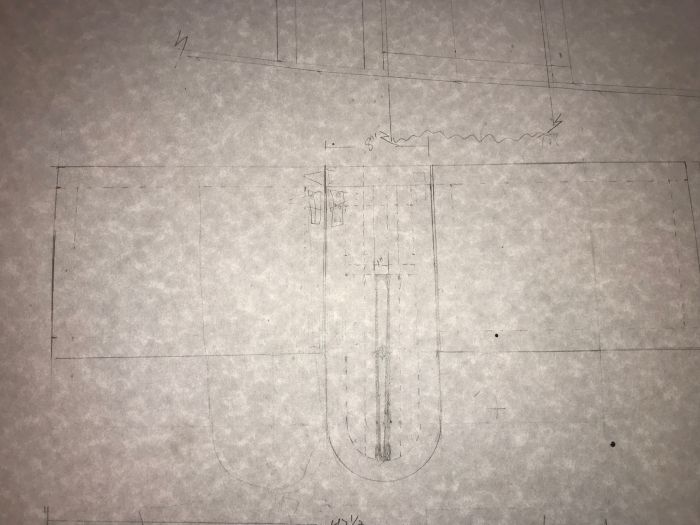
I inserted an aluminum rudder plate inside the stern and an access hole in the Stern.
I created an airtight box around the mast hole in the bow to keep water from accessing the bow. I like the idea of having air tight boxes.
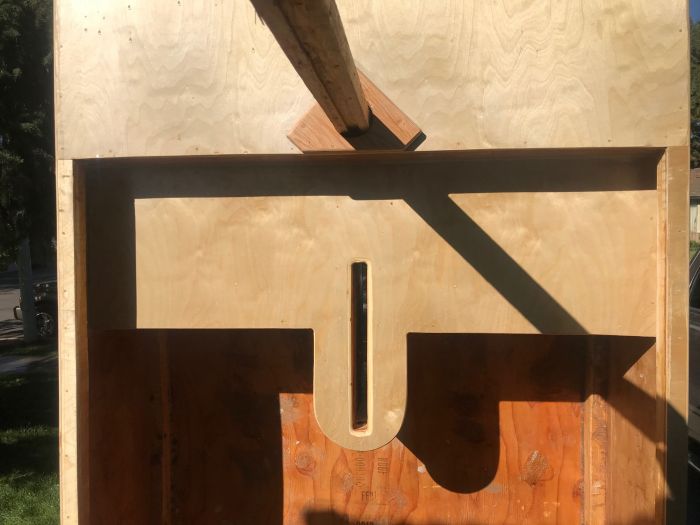
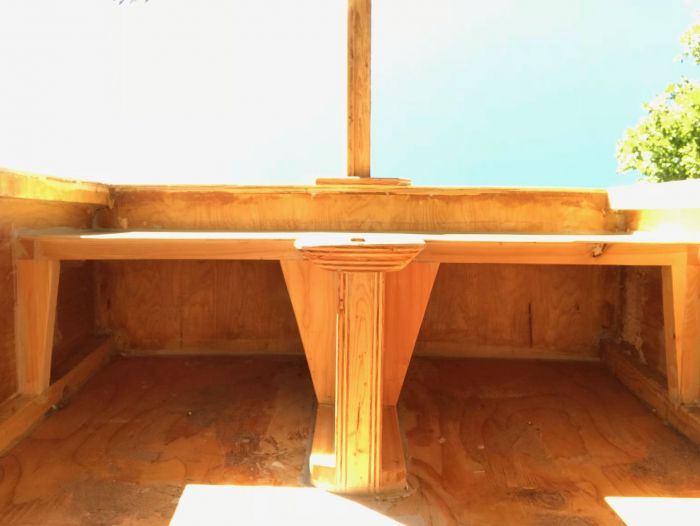
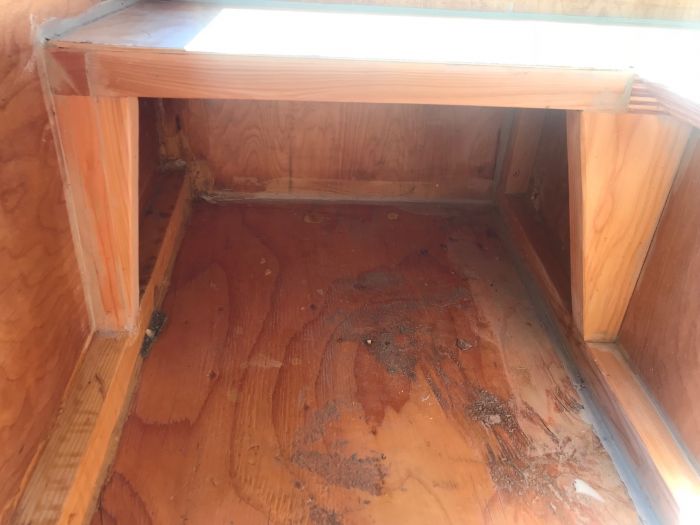
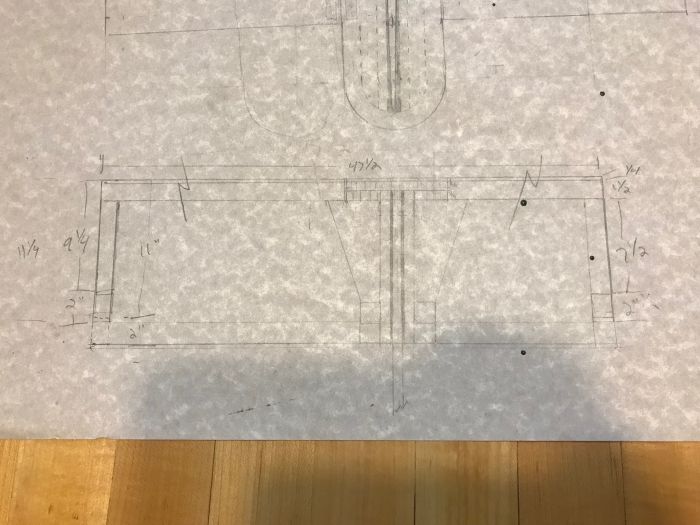
And I added the bench/keel box for the keel. (aka dagger board. Probably more accurately described as a dagger board, but keel has one syllable. Forgive me for using the wrong name) I wanted the keel box to double as a seat for rowing and I didn't like the idea of having a leeboard on the side.
The most difficult part was fitting the keel box to the boat just perfectly. I traced a 2 x 4 on the side of the boat. Then cut it with a bandsaw. Then traced an inch and a half from the edge and cut that with a bandsaw. I did the same with the vertical 3/4 inch play pieces.
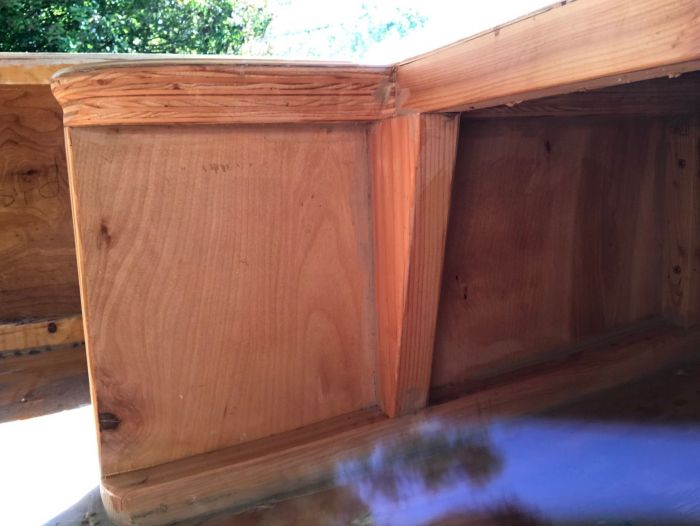
The curve of the center of the boat did not match the curve of the edge of the boat. So I had to trace another line and cut the 2 x 4 pieces and 3/4 ply pieces again with the bandsaw again.
The portion of the keel box (dagger board box) that attaches to the bow box also needed special sanding with a rough 80 grit belt sander because the box panel was not flat. Even then the fit was not perfect so I used liquid nail construction glue. I trust it because I used it framing homes for years on the subfloor of homes.
Before I could glue anything I had to sand all the previous polyurethane off.
It took forever building the keel box. Once that was done and set, everything else seemed to fly together.
Lance
I inserted an aluminum rudder plate inside the stern and an access hole in the Stern.
I created an airtight box around the mast hole in the bow to keep water from accessing the bow. I like the idea of having air tight boxes.
And I added the bench/keel box for the keel. (aka dagger board. Probably more accurately described as a dagger board, but keel has one syllable. Forgive me for using the wrong name) I wanted the keel box to double as a seat for rowing and I didn't like the idea of having a leeboard on the side.
The most difficult part was fitting the keel box to the boat just perfectly. I traced a 2 x 4 on the side of the boat. Then cut it with a bandsaw. Then traced an inch and a half from the edge and cut that with a bandsaw. I did the same with the vertical 3/4 inch play pieces.
The curve of the center of the boat did not match the curve of the edge of the boat. So I had to trace another line and cut the 2 x 4 pieces and 3/4 ply pieces again with the bandsaw again.
The portion of the keel box (dagger board box) that attaches to the bow box also needed special sanding with a rough 80 grit belt sander because the box panel was not flat. Even then the fit was not perfect so I used liquid nail construction glue. I trust it because I used it framing homes for years on the subfloor of homes.
Before I could glue anything I had to sand all the previous polyurethane off.
It took forever building the keel box. Once that was done and set, everything else seemed to fly together.
Lance