
Simple Mast Made From 2x4
You can make a great mast from a simple 2x4. Most home improvement stores and lumber yards have 2x4's up to 16' long, some have them up to 20' long. Find a 2x4 that is fairly clear, and if it has knots in it, try to get one that the knots will end up in the cast off portion.
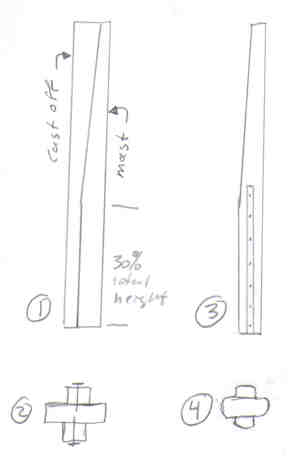
Shorty's favorite mast dimensions:
16 foot long overallbase is 2.5" in diameter
bottom 5 feet is cylinder shaped
from 5 feet to the top it tapers
the top is 1.5" diameter
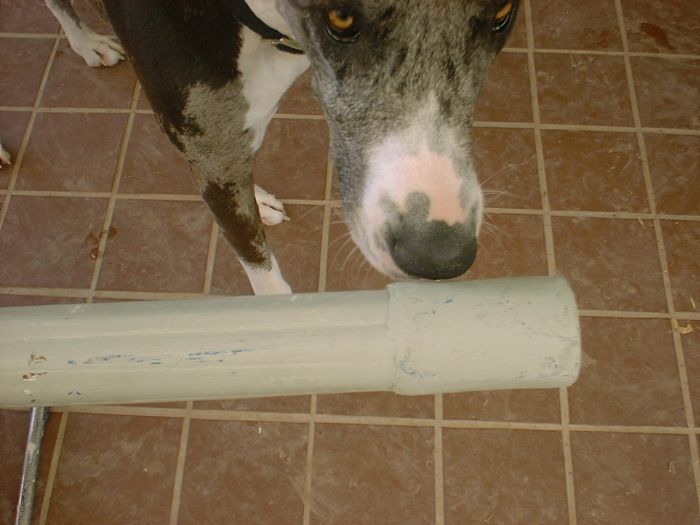
I also apply 2 layers of 8 oz fiberglass cloth to the bottom 5' of the mast. And by cylinder, I really mean octagon that is rounded off.
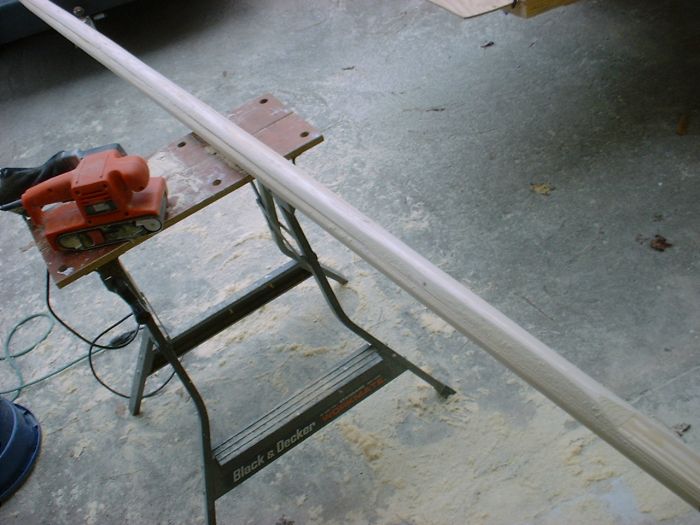
Step 1 - Cut the taper
Unstayed masts are usually tapered (cone shaped) to reduce the weight you are carrying around at the top of the mast. Most of the force is concentrated at the mast partner, so the higher up on the mast you go, the less force is being applied to it - and it seems like the top of the mast is almost just there to hold up the top of the sail, with little or no force pushing on it.
For my masts, I like to have the bottom 30% of the mast a constant thickness and start the taper above that point. Then I taper one side of the 2x4 from that point up to the head. The reason I only taper one side is because most of the time there is a knot that I am trying to get rid of, and I just don't think there is any real benefit to tapering both sides (except for asthetics).
To make the cut, start with the bottom part which is a straight cut. I only cut half way through the length of the board and then stop. Next I turn the mast around to feed in the other direction so I can cut the taper portion. I take the rip fence off my table saw and free hand feed it through the saw, trying to follow my pencil mark. This way my hands stay a long ways away from the blade. Be careful though, a table saw is extremely dangerous.
You can cut the mast with a circular saw or other types of saws, just clamp it to a couple of saw horses and cut what you can. When the saw gets to the saw horse, stop your saw and move / re-clamp the board so you can continue cutting.
There is another common boat building technique where the original board is put on the floor supported by a piece of foam or an inch stack of cardboard. Then you can kneel on the board to hold it in place, as you run your saw through it. You can start in the middle of the board and do what is called a "drop cut" so you are cutting from the center of the board going outwards to the ends.
Step 2 and 3 - Side Stiffeners
The heaviest loads on the mast will be to the sides towards the bottom of the mast, so I like to add on a couple of stiffeners to the bottom 30%. Take the cast off portion and cut a couple of side stiffeners from it. If the mast is to end up being 2.5" round at the base, and the original 2x4 is actually 1.5" thick, then your side stiffener pieces will need to be 1/2" thick. You can either glue and clamp them on, or if you don't have enough clamps, you can glue and nail them in place. If you drive the nails below the surface with a drift pin, then you can just leave them in there.
Step 4 - Round Off Corners
Now you have a cross shaped mast. To round the top portion of the mast, you can simply run a router over it with either a round off bit or a chamfer (45 degree flat cut) bit. A little extra sanding and it will be really nice looking. The bottom portion of the mast can be sanded with a variety of power sanders.
(optional) Fiberglass The Mast
If you want your mast to be even stronger, you can put a layer or two of fiberglass on the bottom of it. I did a mast breaking experiment and it was enough data to convince me that it does help to glass the mast. I prefer to use 2 layers of fiberglass tape which I lay parallel to the length of the mast, and I fiberglass the bottom 30% of the mast. Some duckers will fiberglass the entire mast.
For more information about how to apply fiberglass, see the how to fiberglass your sailboat page
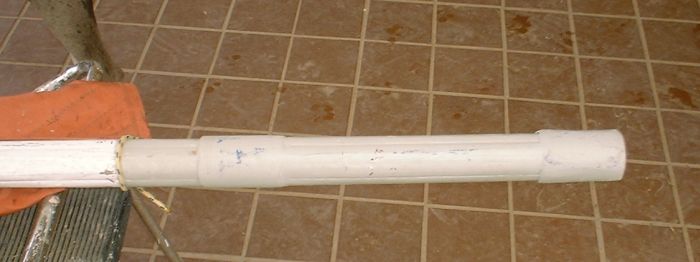
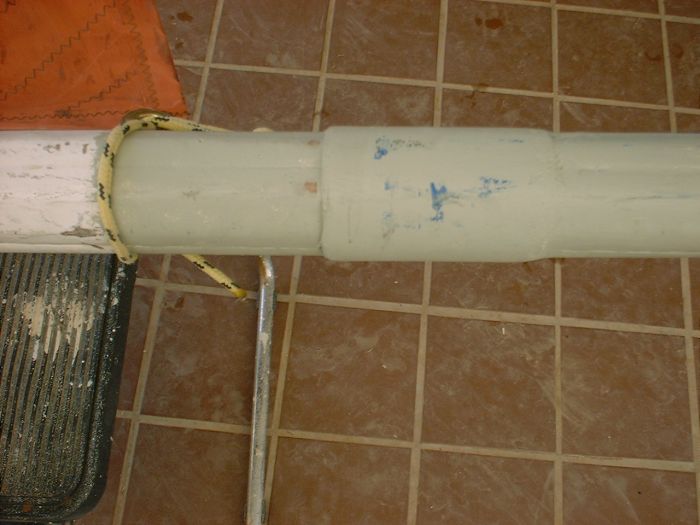
(optional) Fiberglass Collar Areas
Another option you might consider, it takes a lot of sanding to make a mast round, however the only parts that really need to be round are the parts that touch the mast sleeve or collar. This is so the mast can rotate. Make your mast collars a bit oversized, then fiberglass rings around your mast at the locations where they touch. It makes a much smaller area that you have to make round.
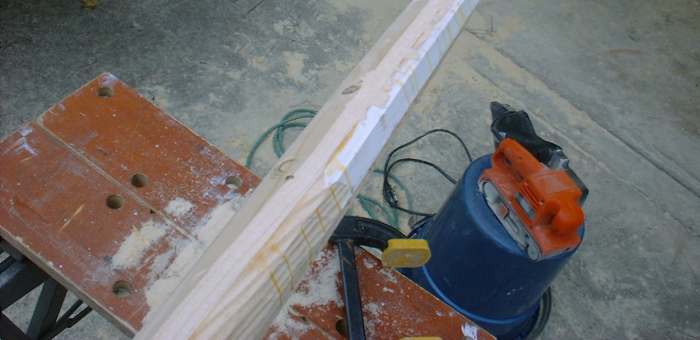
(optional) Laminate Multiple Boards
If you want to make an even stronger solid mast, then laminate (glue) multiple boards together to start with and then taper & shape from there. If there are defects in the individual boards (such as the knot you can see in the picture to the right), the lamination will help spread the load to the other wood.
Make sure to use plenty of glue when laminating. It is perfectly OK to have it oozing everywhere when assembling, you can clean that up later. A glue starved joint makes a weak spot, and is one of the problems with hollow masts.
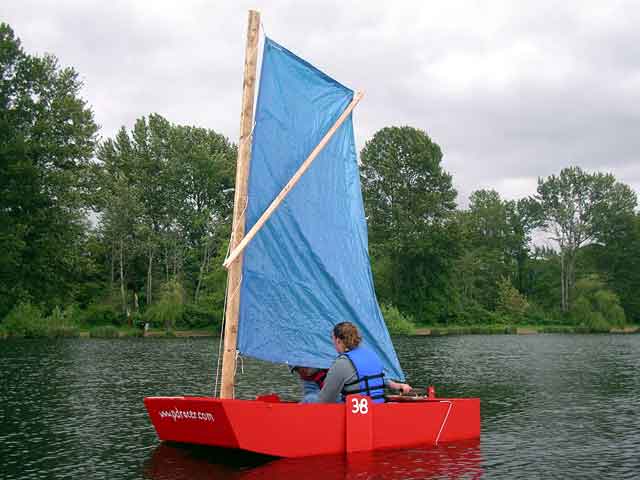
If you don't want to goto the hassle of tapering and sanding a mast, the simplest of all masts is just a plain 2x4. Lace your sail to it, stick it in the mast sleeve and go!! It is a bit on the top heavy side, rather rough looking, but it does work.